TL;DR
In this article, you will learn how to use CloudIQ webhooks to send a Slack or Teams message using serverless providers like GCP Cloud Functions or AWS Lambda.
Intro
This article is the second of the series about CloudIQ Webhooks. In the previous article, CloudIQ Webhook to ServiceNow, we discussed how the CloudIQ Webhook could integrate directly with ServiceNow with Scripted REST API. Not every service offers such plasticity, and it is sometimes necessary to have an intermediate service to glue the two pieces together.
The serverless computing, sometimes call Function as a service, is a perfect fit to pre-process the CloudIQ webhook data. It is a stateless processing design to pass the result to another endpoint, it requires no infrastructure management, and it is a pay-per-use.
In this article, we will talk about integrating with messaging systems. The channels and messaging systems are part of any digital life for decades. I hope some readers have fond memories of IRC times like I do! Back in the early 00’s the best way to contact me was on QuakeNet #baua channel. Today, Discord, Slack, and Teams took over the world and IRC is mostly used by nerds. Enough of nostalgia, let’s dive into the implementation !
This tutorial shows how to send CloudIQ health issues to a Slack or a Team channel. For both destinations, we will use the same pattern, that will make use of :
- CloudIQ webhooks to send alert
- Serverless to process the data
- Incoming webhooks to notify a channel
Slack integration
The first case study uses GCP Cloud Functions to receive the health issue event, process it, then send it to a Slack.
For this integration, we choose to use Incoming Webhooks. Incoming Webhooks are the easiest way to post JSON payload as a Slack message. By using that mechanism, it simplifies the authentication and authorization to access the channel. Once enabled and approved by your Slack workspace’s admin, you have one URL to post on ; end of story.
Incoming Webhooks come with a few limitations. Since you can only post messages and not retrieve them, you can not reply to your message without using the full API or the event subscriptions to loop back replies.
As for the serverless piece, we will use python in Google Cloud Functions.
Slack app creation
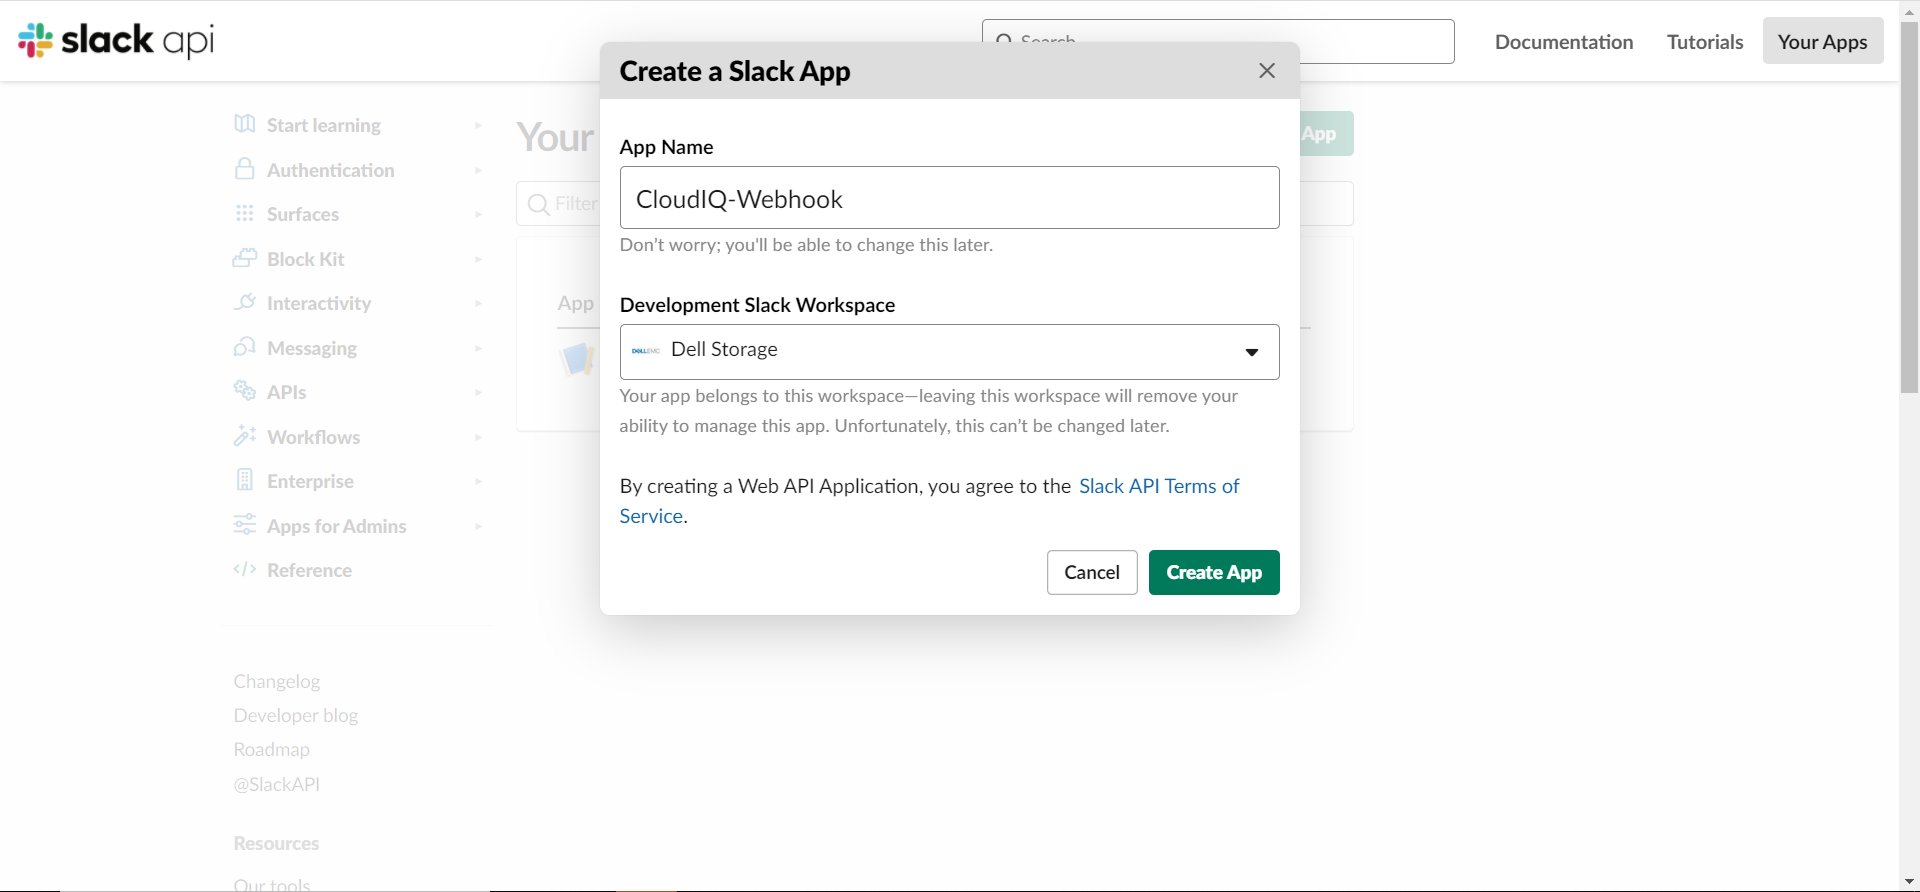
The first step is to create a Slack app. To do so, connect to https://api.slack.com/apps then click on create button.
You can there set your application name and the workspace it will apply to.
Next, you will return to the homepage and you can click Add features and functionality then Incoming Webhooks:
![[enable webhook]](assets/img/slack/2.png)
Then you can click on the button to activate the feature Request to Add New Webhook:
![[enable webhook]](assets/img/slack/3.png)
The next step is to request to the owner of the workspace the permission to access a channel:
![[permissions]](assets/img/slack/4.png)
Once approuved you will… receive a Slack message to inform you can move on to the next step:
![[approuved]](assets/img/slack/5.png)
The last step is to copy the URL to be used:
![[approuved]](assets/img/slack/6.png)
Google Cloud Functions
With Slack App ready, we can start to write the code to process the data. There are three main functions:
- slack_notification ; which is the entry point function to be called on HTTP POST to the Cloud function trigger URL
- verify_signature ; which has the algorithm to verify the message does come from CloudIQ
- ciq_fields_to_slack_message ; which converts the CloudIQ event into a Slack message
slack_notification
That first function will do several things:
- Process the options we want to pass to the function with environment variables. Do we want to check the event signature ? What is the secret ? What is the Slack App URL ?
- It will check the event is from a know type
pingorhealth-score-change; if not we reply the proper HTTP 4XX code. - We will call the function to process the data ; that is to say check the signature and map the CloudIQ fields and push the newly constructed message to Slack.
def slack_notification(request):
    try:
        check_signature = bool(os.environ['CHECK_SIGNATURE'])
    except KeyError:
        check_signature = False
    try:
        shared_secret = os.environ['SHARED_SECRET']
    except KeyError:
        shared_secret = 'test'
    try:
        slack_app_url = os.environ['SLACK_APP_URL']
    except KeyError:
        slack_app_url = ''
    request_json = request.get_json()

    if request.headers['x-ciq-event'] == 'ping':
        return 'pong', 200
    elif request.headers['x-ciq-event'] == 'health-score-change':
        if check_signature:
            if request.headers['x-ciq-signature']:
                if not verify_signature(request.data, request.headers['x-ciq-signature'].removeprefix('SHA-256='), shared_secret):
                    return 'Wrong signature', 412
            else:
                return 'Missing signature', 412
        return ciq_fields_to_slack_message(request_json, slack_app_url)
    else:
        return 'unknown or missing x-ciq-event', 406
verify_signature
Like described in the headers chapter of our previous article, the header x-ciq-signature contains a secure hash generated from the shared secret and the payload. If you have an exact match, you can assume the event comes from CloudIQ.
def verify_signature(data, hmac_header, shared_secret):
    calculated_signature = base64.b64encode(
        hmac.new(bytes(shared_secret, 'utf-8'),
                 data,
                 digestmod=hashlib.sha256).digest())
    if calculated_signature == hmac_header:
        return True
    else:
        return False
ciq_fields_to_slack_message
That function is where the magic happens ! It will process the CloudIQ payload, craft the message and post it to the slack_app_url we during from the Slack app creation
To add a bit of pep to our Slack message, I used quickchart.io service the generate an image of a colored gauge with Health Score. This service is, just like Google Chart API circa 2010, free of charge, Javascript-free and has tons of options to tweak your charts.
def ciq_fields_to_slack_message(data_json, slack_app_url):
    slack_headers = {'Content-type': 'application/json'}

    color = 'green'
    if (data_json['currentScore'] < 95 and data_json['currentScore']>70):
        color = 'orange'
    elif data_json['currentScore']<=70:
        color = 'red'
    gauge_img = "https://quickchart.io/chart?c={{type:'radialGauge',data:{{datasets:[{{data:[{}],backgroundColor:'{}'}}]}}}}".format(data_json['currentScore'], color)

    slack_payload = """{{
    "text": "Health issue on {} !",
    "blocks": [
        {{
            "type": "section",
            "text": {{
                "type": "mrkdwn",
                "text": "Health issue update on *{}* of category *{}* was received at {}."
            }}
        }},
        {{
            "type": "section",
            "block_id": "section567",
            "text": {{
                "type": "mrkdwn",
                "text": "Description is: {}\nResolution is: {}\nImpact is: {}"
            }},
            "accessory": {{
                "type": "image",
                "image_url": "{}",
                "alt_text": "Alert"
            }}
        }}
    ]}}""".format({data_json["systemName"]}, \
        data_json["systemName"], data_json["newIssues"][0]["category"], data_json["timestampIso8601"], \
        data_json["newIssues"][0]["description"], data_json["newIssues"][0]["resolution"], data_json["newIssues"][0]["impact"], \
        gauge_img)

    slack_response = requests.post(slack_app_url, headers=slack_headers, data=slack_payload)
    return slack_response.text, slack_response.status_code
Local try
Google Cloud Functions allows you to try your code locally without using the GCP console at all.
To run the function locally, you need to first install the utility with : pip install functions-framework
Ruby tip of the day: I quite often use the tool rerun. Every time there is a file change, it will relaunch the command.
Now that our code is ready we can launch it with: rerun -p *.py -- functions-framework --target slack_notification and test it with the easy_post.sh script.
If everything works as expected you should see a message like this in your channel:
![[slack message]](assets/img/slack/7.png)
Deployment time !
With our code ready, we can deploy it. GCP offers to deploy a function from gcloud command or the console. You can learn more about it in this article
The video below shows all the steps to deploy our cloudiq-webhook function till we add the endpoint in CloudIQ:
What’s next?
Next on my TODO list is to implement a similar use-case but using Microsoft Teams and Azure Functions.